


Deploy Your Tensorflow.js Model Using AWS Lambda


Table of Contents:

By clicking this button you agree to receive information from TeaCode about software development and app marketing, the company and its projects to your email. Your data is processed by TeaCode (Postępu 15, 7th floor, 02-676 Warsaw, Poland) to send you relevant content via newsletter (from which you can unsubscribe at any time). You can read more in our Privacy Policy.

We will estimate your project!
Contact Us

Get The Pre-Investment Tech Checklist
Contact Us
Show
At Teacode.io we need to bring ideas to production as soon as possible. Now, we live in the age of machine learning, and building machine learning models is a fascinating task. However, it is meaningless if you cannot bring it to production. Thankfully Amazon Web Services (AWS) comes to the rescue with its lambda functions allowing for cheap and easy deployment of your TensorFlow models. Regardless of whether you are building machine learning models or you want to integrate them with your app, this article is what you are looking for.
We will look at the essential steps of deploying your machine learning model to production.
- Converting your Keras model into a Tensorflow.js model.
- Setting up your model using S3.
- Performing inference using your model and AWS Lambda.
- Setting up an API to use your model anywhere!

Why Tensorflow.js?
AWS Lambda has a 50Mb limit on the size of the function. Thus you have to be wary of how big your handler method is, and this is where Tensorflow.js fits in perfectly.
Tensorflow.js is a lightweight alternative to its fully-fledged big brother. It was built with memory efficiency in mind. As a result, it is a small 30Mb deep learning library capable of running any model.
Training a simple neural network
We will train a super simple neural network as a toy for the remainder of the article. However, you can replace the model we use here with any model you like!
We are training a linear regression model with one linear unit in a single dense layer and without an activation function. For training, we will use data from a line with a slope of 2 and an intercept of 5.
- The code below is prepared to be run in a jupyter notebook. I would suggest you use Google Colaboratory. You can go directly to a preset Colaboratory notebook by clicking this link.
!pip install --quiet tensorflowjs

import tensorflow as tf
from tensorflow.keras.models import Sequential
from tensorflow.keras.layers import Dense

import tensorflowjs as tfjs

# Set seed for reproducibility
tf.random.set_seed(1)

# Setup toy data
X = tf.range(-5, 5, 0.1)
Y = 2 * X + 5

# Create a simple model with 1 Linear unit in 1 Dense layer
model = Sequential([
        Dense(units=1, input_shape=[1])
])

# Use stochastic gradient descent and mean squared error
model.compile(optimizer='sgd', loss='mse')

# Fit on the toy data
model.fit(X, Y, epochs=100, batch_size=8, verbose=0)

# Sanity check that the model has successfully trained
slope, intercept = [w.numpy().squeeze() for w in model.weights]

print("True Model: 2.0x + 5.0")
print(f"Fit Model:  {slope:.1f}x + {intercept:.1f}")

# Save the model
MODEL_DIR = './js_model'

tfjs.converters.save_keras_model(model, MODEL_DIR)
Once you run the cell with the code you should get the following output.
[...]
True Model: 2.0x + 5.0
Fit Model:  2.0x + 5.0
[...]
If that is the case, then our toy model has trained successfully! However, the final couple of lines, where we save the model, are the most important in this example.
# Save the model
MODEL_DIR = './js_model'

tfjs.converters.save_keras_model(model, MODEL_DIR)
This saves your model to a Tensorflow.js readable format which you can use in a Lambda function. There you should be able to find all of the necessary files in the ./js_model directory. There will be two types of files.
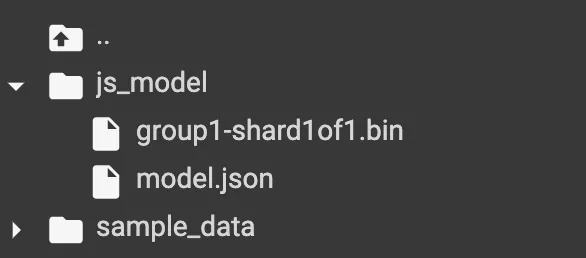
- model.json – this file contains the information necessary to rebuild your model.
- shards – these contain the data about the weights of your model, and there can be multiple shards.
Download these files. We will use them to build the AWS pipeline.
Alternatively, you can use a pre-trained model
You might be in a situation where you will already have a pre-trained model. In that case, you can just convert the model directly. To do this call the line below, and you will get the same set of files as in the original example.
tensorflowjs_converter --input_format=keras {PATH_TO_MODEL} ./js_model
Create a new S3 bucket
The next step on our journey is to set up a new S3 bucket. Store the bucket name as it will be necessary later on. To keep this article simple set everything to public, you can adjust the permissions to your needs at a later time. Once your bucket is created upload all of the files that were generated in the ./js_model directory (model.json and shards) and permit everyone to read these files (for this you will have to go through each file’s permissions separately). Make sure the permissions are correct. Otherwise, the inference might fail.

Create the Tensorflow.js handler
Now that the model is setup you can setup the inference function that is to be used by AWS Lambda. First, let’s create a new javascript project by running:
npm init
and then install Tensorflow.js by calling the following
npm install @tensorflow/tfjs
Now that the project is all set, create an index.js file with the code below.
const tf = require('@tensorflow/tfjs');

exports.handler = async (event) => {
  bucketName = '<your-bucket-name>'

  const MODEL_URL = `https://${bucketName}.s3.amazonaws.com/model.json`

  const model = await tf.loadLayersModel(MODEL_URL);

  let x = parseFloat(event.x);
  input = tf.tensor([x]);

  const result = model.predict(input);
  const y = (await result.array())[0][0];

  return {
    statusCode: 200,
    body: JSON.stringify(y)
  };
};
Let’s dissect the code above. Firstly, you need to provide the path to your model on S3. Note that you are only providing the path to model.json and not all of the shards. The function loadLayersModel is smart enough to use the data in model.json to locate the shards. Then we parse the input data from the event into a TensorFlow tensor (a TensorFlow “array”), which we can then pass to the model for inference. Finally, we can get the response in the form of an array and return it as a response.
Zip your project
AWS Lambda expects your project as a zip file. This means you will need to zip both the node_modules and the index file. This should create a zip file that is around 30Mb.

You can then upload the zip file to your S3 bucket. Once it is done uploading store the Object URL as we will use it later.
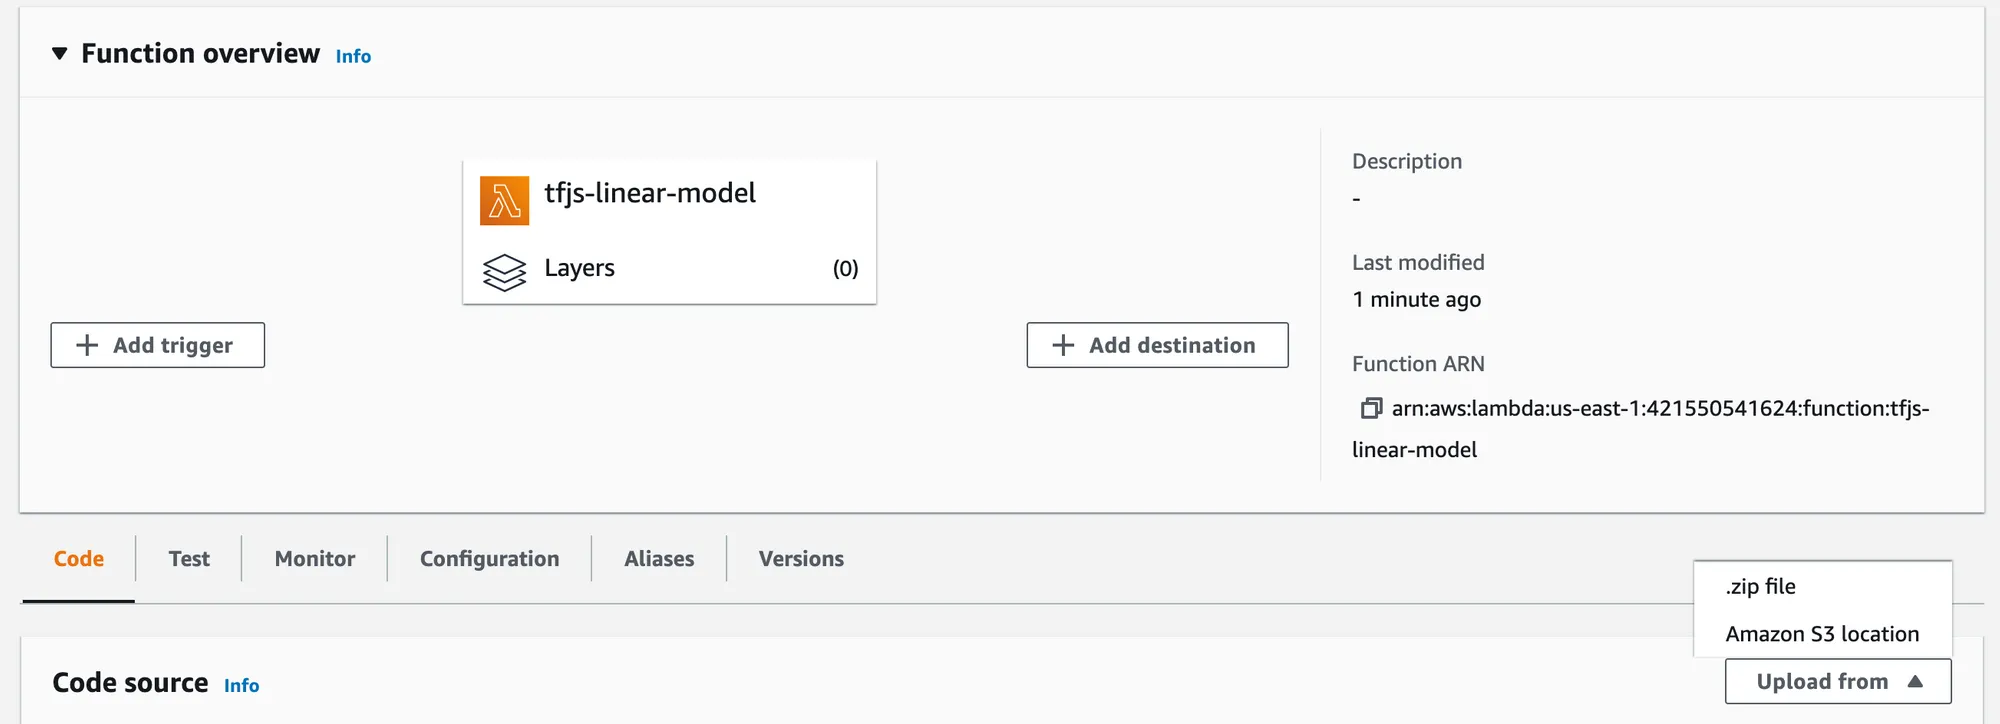
Create an AWS Lambda function
Now we are ready to create our lambda function. Navigate to AWS lambda and click create function. Give it a meaningful name and make sure that the node.js runtime is selected. Then click on the upload from dropdown and select Amazon S3. Paste the object URL of the zip file you uploaded.
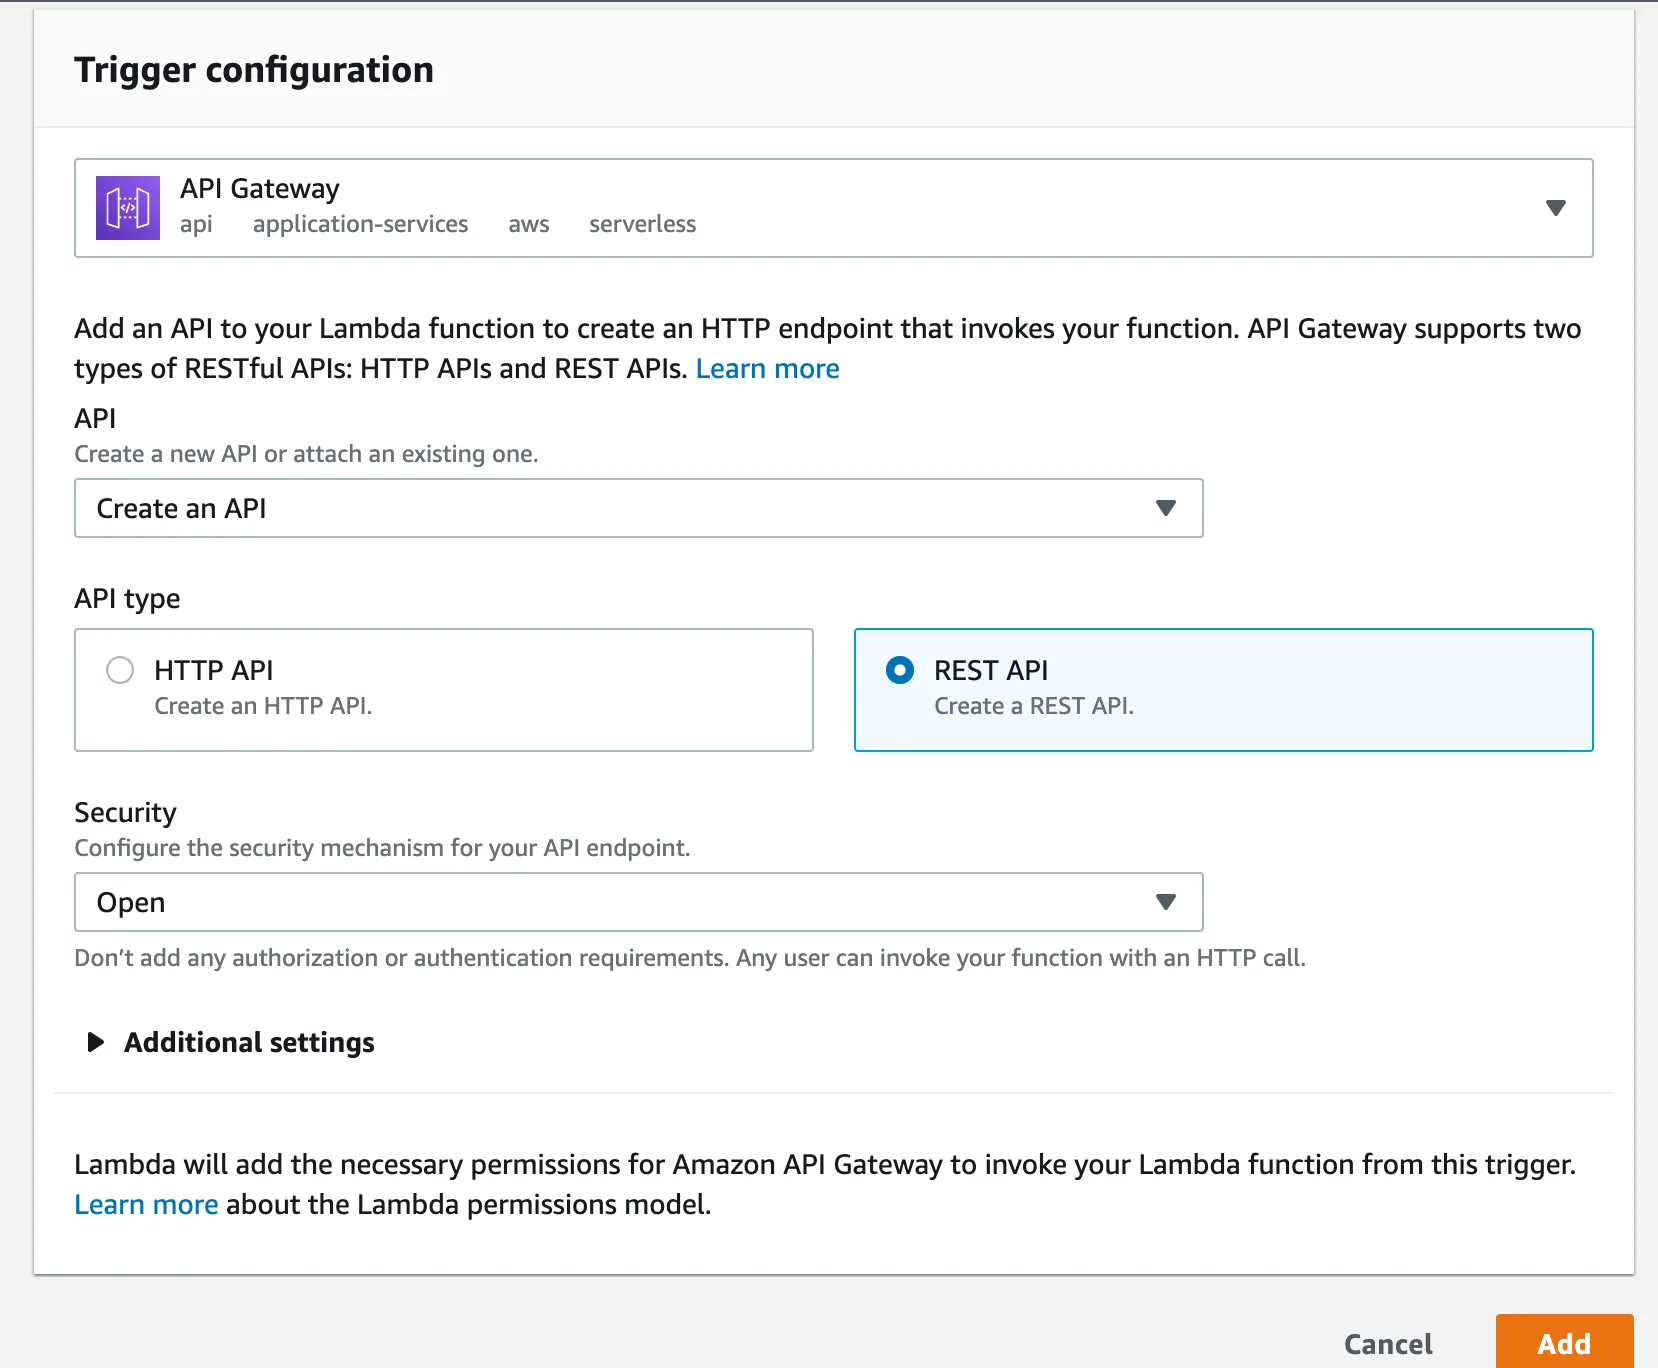
Set up an API Gateway
Now that your lambda function is up and ready, we still need to set up an API to invoke the function remotely. Click on the Add trigger button and select the API Gateway from the dropdown list. Next select create new API and mark the REST API. Finally, set the security to Open (at least for now). Your final setup should look something like the image below.
Add the API and navigate to it. Under Resources/ANY/Method Execution, click on Integration Request and uncheck Use Lambda Proxy integration. Now the Mapping Templates should become available. Create a new mapping template of type application/json. Set the template to map the input to x.
{
    "x": $input.json('$.x')
}
Test your API
And you are done! You can test the model by going back to method execution and clicking test. Select the POST method with the body:
{
	"x": "10"
}
You should get something like the following response.
{
  "statusCode": 200,
  "body": "24.999988555908203"
}
Conclusion
We have gone through the journey of deploying a simple machine learning model. Hopefully, you found a new appreciation for Tensorflow.js with AWS Lambda and have new ideas as to how you can integrate this in your data science projects.
As a result, you now should have no excuse to not show off your machine learning models in the real world. It should come to you with no additional effort to apply this to any Tensorflow model you might want to use!
This article was originally published on
December 4, 2024
February 19, 2026

.webp)