Kacper Polak
Line Manager

10 min read

October 4, 2021

Getting Started with Next.js

What will you learn

Our shared need for precision, fair play, and heightened tension during matches shapes a willingness to incorporate new sports technologies.

  1. Moreover, this technological enhancement adds a layer of suspense and anticipation.
  2. Intensifying the drama of each match and contributing to a new dimension in our evolving sporting landscape.
  3. Moreover, this technological enhancement adds a layer of suspense and anticipation.
  4. Intensifying the drama of each match and contributing to a new dimension in our evolving sporting landscape.

When I first started writing front-end, I have been using create-react-app for most of my personal projects. I really liked how easy it was to start a React project with create-react-app but over time as I gained some more experience I noticed that it was missing some features that could help both with development and my project itself. Then I started looking for improved alternatives and that’s how I found out about Next.js.

What is Next.js?

Next.js is an open-source production React framework that enables several extra features, including server-side rendering, generating static websites, and great SEO optimizations. Traditional React apps render all their content in the client-side browser, Next.js is used to extend this functionality to include applications rendered on the server-side.

Next.js gives us a lot of additional features and possibilities that are definitely worth your while, for instance:

  • Hot Reloading – Next.js reloads the page when it detects any changes saved to disk.
  • File-system routing – All of your files inside the pages folder are mapped to the filesystem without any additional configuration.
  • Server-side rendering – The HTML is generated on each request.
  • Static generation – Generating HTML at build time that will be reused one each request.
  • Automatic code splitting -Instead of generating one single JavaScript file containing all the app code, the app is broken up automatically by Next.js in several different resources.
  • TypeScript support

and many more!

If you want to learn from their dedicated tutorial you can visit this website.

By clicking this button you agree to receive information from TeaCode about software development and app marketing, the company and its projects to your email. Your data is processed by TeaCode (Postępu 15, 7th floor, 02-676 Warsaw, Poland) to send you relevant content via newsletter (from which you can unsubscribe at any time). You can read more in our Privacy Policy.

Why Use Next.js?

Besides the features mentioned above, there are other reasons to use Next.js.

If you want to build a solid web application with React from scratch, you have to consider many important details such as:

  • Code has to be bundled using a bundler like webpack and transformed using a compiler like Babel.
  • You need to optimize your production with techniques like code splitting.
  • You might have to take care of statically pre-rendering pages for performance and SEO.
  • Maybe you would like to use server-side rendering or client-side rendering.
  • Writing some server-side code to connect your React app to your data store.

Next.js framework can solve these problems and provide you with a great “Developer Experience” at the same time, ensuring you and your team have an amazing adventure working with it.

Basics in a Nutshell

It can be quite hard to jump into new technology when there are so many new features and things that you’ve never heard of before.

To help you with that we will now go step by step through all of the most important features that Next.js provides. I’ll try to explain them in the simplest way I can so that you can grasp them without any problems and put them into practice in your next Next.js app.

Server-side rendering

There are two forms of pre-rendering content in the Next.js app and one of them is server-side rendering also known as SSR. We should use SSR only if it is absolutely necessary because the HTML is being generated on each request and this results in much slower performance than Static Generation.

In order to use it for a page, you need to use export an async function getServerSideProps on your page. This function will be called by the server on every request.

It can be used for Data Fetching in your application.

Learn more about how it works here.

Static generation

The second option for our pre-rendering in a Next.js app is a static generation (SSG) which is recommended in most cases. In this case, the HTML is generated at build time and will be reused on each request. You can also use it with Client-side Rendering like in regular React to bring in additional data.

If you export an async function called getStaticProps on a page, then this page will pre-render at build time with props returned from this function.

We should use getStaticProps when data on the page is available ahead of the user’s request, for example, blog posts from headless CMS or pages simply need to be blazing fast and pre-rendered for best SEO performance.

More Next.js SSG documentation to deep dive is available here.

File-system routing

In React, you have to deal with routing by yourself either by using react-router-dom or writing the custom routing system by yourself and it can be complicated and time-consuming. Next.js helps you with that with a built-in intuitive file-system routing that will assist you to organize routes easier.

It is worth mentioning that routing is strictly connected with your /pages directory structure and because of that, you can’t modify the way it deals with routes so it can be a bit opinionated in this case.

When you create a page file or nested directory inside the /pages folder, it will be automatically available as a route in your Next.js application. Default Next.js URL route is created from pages index.js file.

Visit Next.js Routing documentation to find out more.

Assets and CSS

Next.js can serve static assets like images under the /public directory. Everything inside this folder can be later referenced in a similar way to how our routes work. This is also a place in which you would like to put your robots.txt for Google Site Verification.

To use an image that is being served as a static asset just create /images folder in your /public folder and use it in the following way:

1 <img src="/images/teacode-logo.png" alt="teacode green leaf" />

Next.js has built-in support for styled-JSX, CSS, and Sass.

A good option to consider and focus on is to use the CSS-in-JSS library. Some great examples that I highly recommend looking at are Emotion and styled-components.

How to start a new Next.js application

To install Next.js, you’ll need Node.js version 10.13 or later.

In order to check your current version simply type “node –version” in your terminal (Mac, Linux) or cmd (Windows). If you have an older version, you can get the latest one from here.

Using Create Next App

The easiest way to create a Next.js application is by using create-next-app. It is actually the same thing as create-react-app except it creates a Next app for you instead of React app.

To start, type the command shown below in your terminal or cmd.

1npx create-next-app 
2
3# or 
4
5yarn create next-app

To use TypeScript you’ll have to provide the “–ts” or “–typescript” flag.

1npx create-next-app --ts 
2
3# or 
4
5yarn create next-app --typescript

If everything went fine, you should see a piece of success information in your terminal. To start the development use one of these commands.

1npm run dev
2
3# or
4
5yarn dev

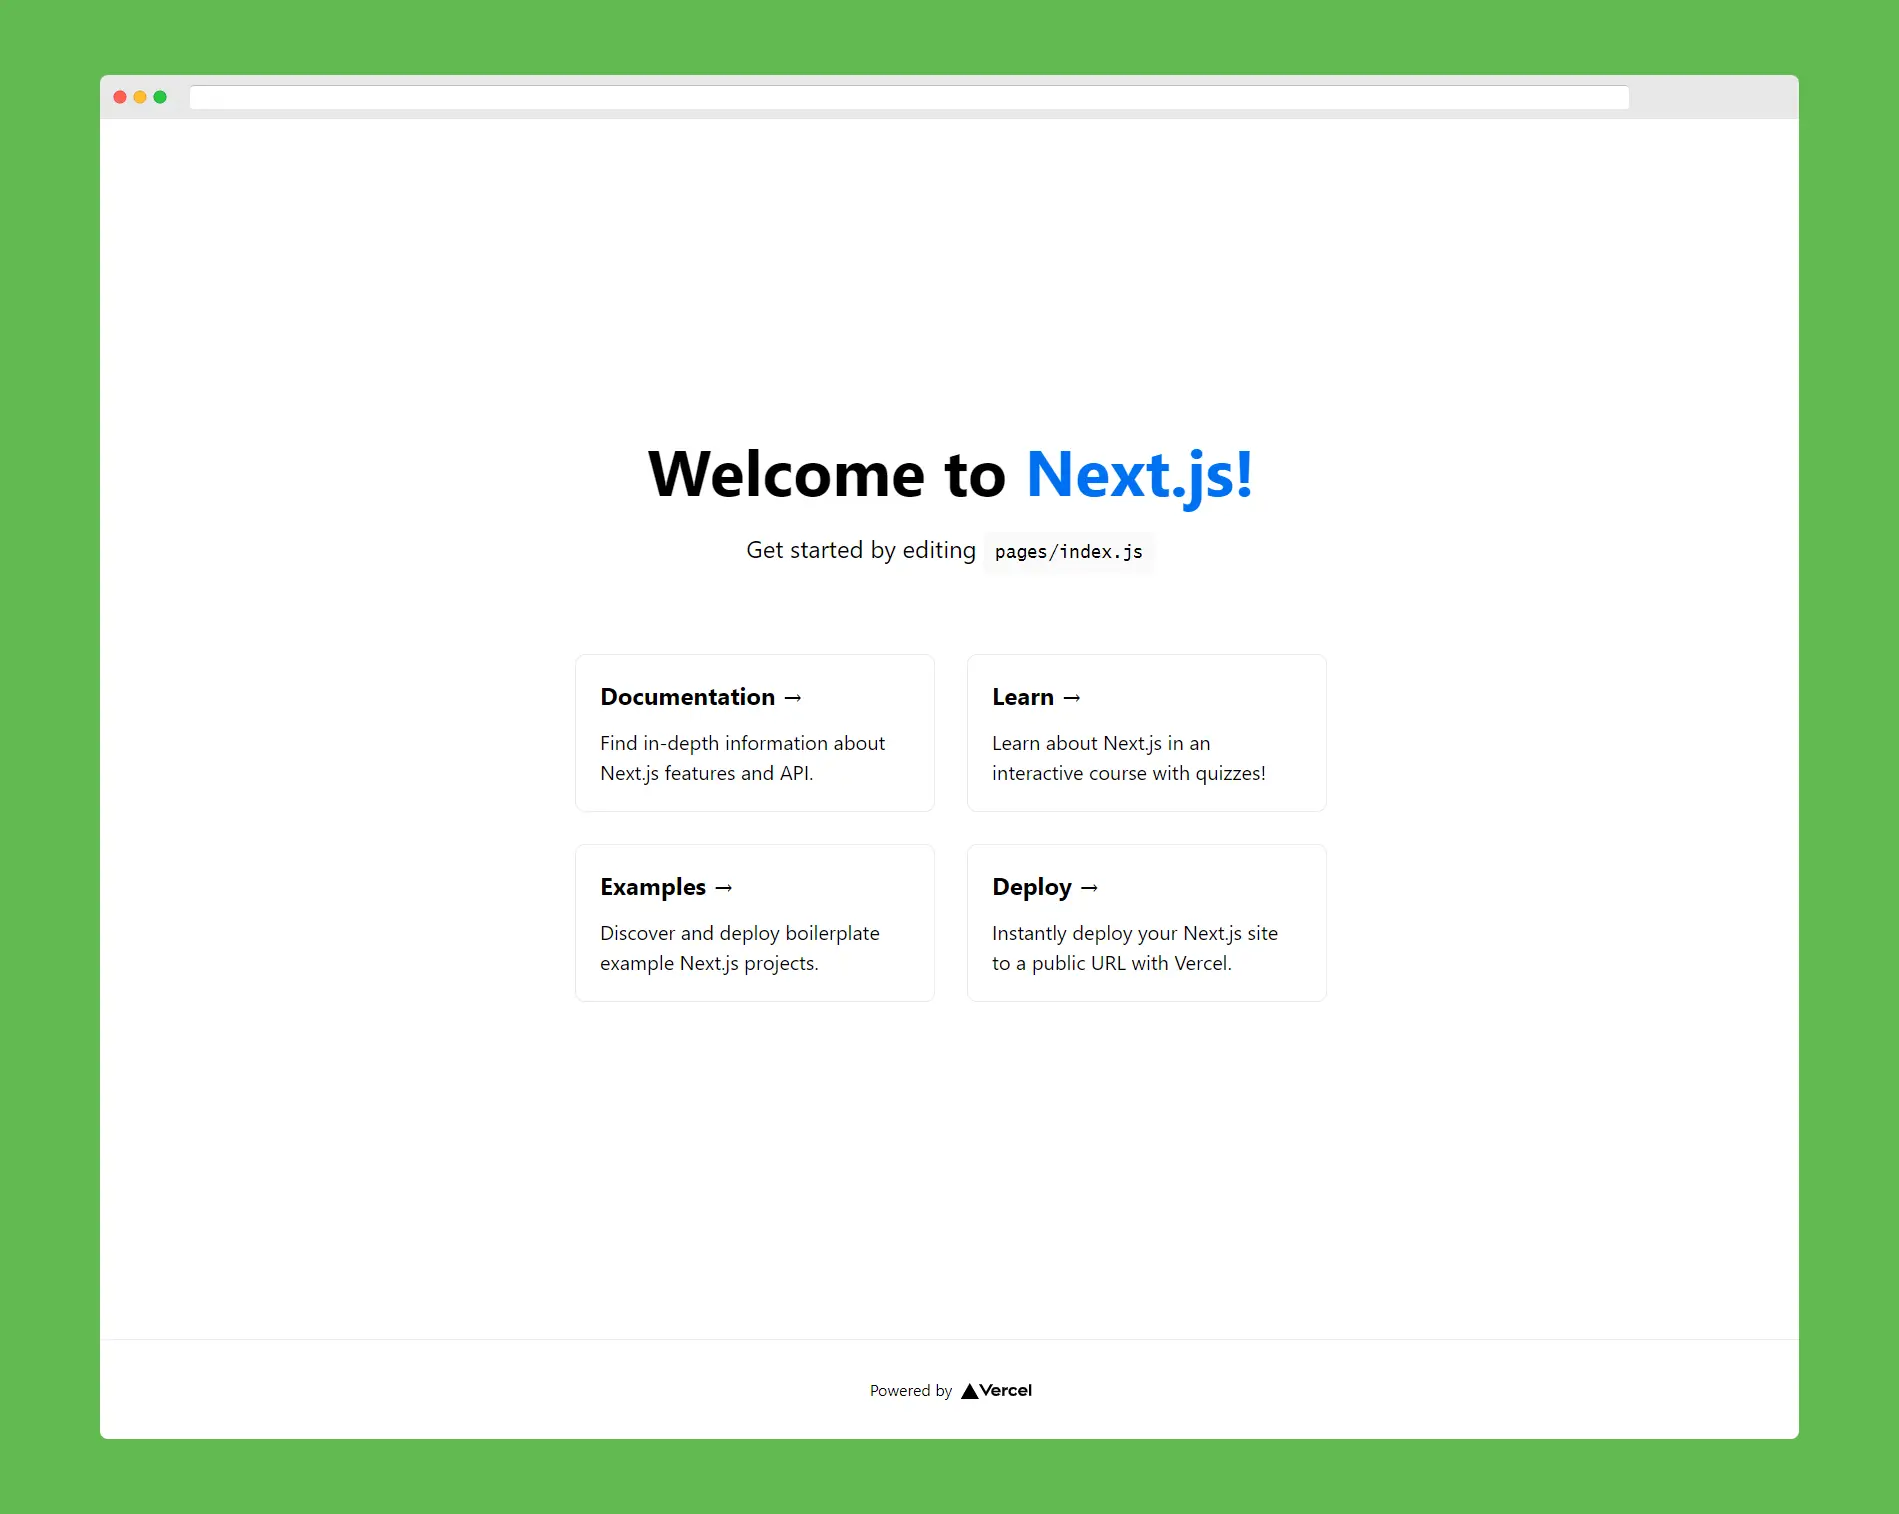
To see how it looks like, let’s follow suggestions from the terminal and head to localhost:8000

And that’s it. We have created a very basic Next.js application using create-next-app. To learn more about create-next-app and how to create production build please visit the documentation here.
Manually create Next.js project

You don’t always have to use create-next-app while initializing your project if there are any reasons you want to avoid using it or you simply want to create the Next app from scratch, you can do it in just a few simple steps.

1. Create a new empty directory and initialize Node project with npm init.

1# Create empty directory 
2  mkdir teacode-rocks 
3
4# Move to /teacode-rocks directory 
5  cd teacode-rocks 
6  
7 # Initialize Node project
8   npm init -y

2. Install next, react and react-dom.

1npm install next react react-dom

3. Add scripts to your package.json file.

1"scripts": { 
2    "dev": "next", 
3    "build": "next build", 
4    "start": "next start" 
5}

4. Add /pages directory and create _app.js file inside it.

1function MyApp({ Component, pageProps }) { 
2  return <Component {...pageProps} />; 
3} 
4
5export default MyApp;

5. Create an index.js inside it.

1import Head from 'next/head' 
2
3export default function Home() { 
4  <div> 
5    <Head> 
6      <title>Teacode Rocks!</title>
7    </Head>
8    <main>
9      <h1>This is my manually set-up Next.js project!</h1>
10    </main>
11  </div> 
12}

6. Run your app!

1npm run dev

In order to find out how to customize your manual set-up Next.js app and use advanced features visit Next.js documentation here.

Now you are ready to go with your very default Next.js project!

Conclusion

Whether to use Next.js for your next project strongly depends on what you are aiming for.

Assuming that you want to create a blazing fast, secure and SEO-focused application then Next.js is your way to go.

As you can see, it gives you a lot of additional features and out-of-the-box solutions that are not accessible for example in create-react-app, and at the same time the development experience is great.

If you’ve used React before then starting with Next.js would be easy-peasy for you and you should not worry about that. It has great documentation with a lot of examples for developers that makes working with it really enjoyable.

Table of Contents:

Similar articles:

Subscribe to our newsletter